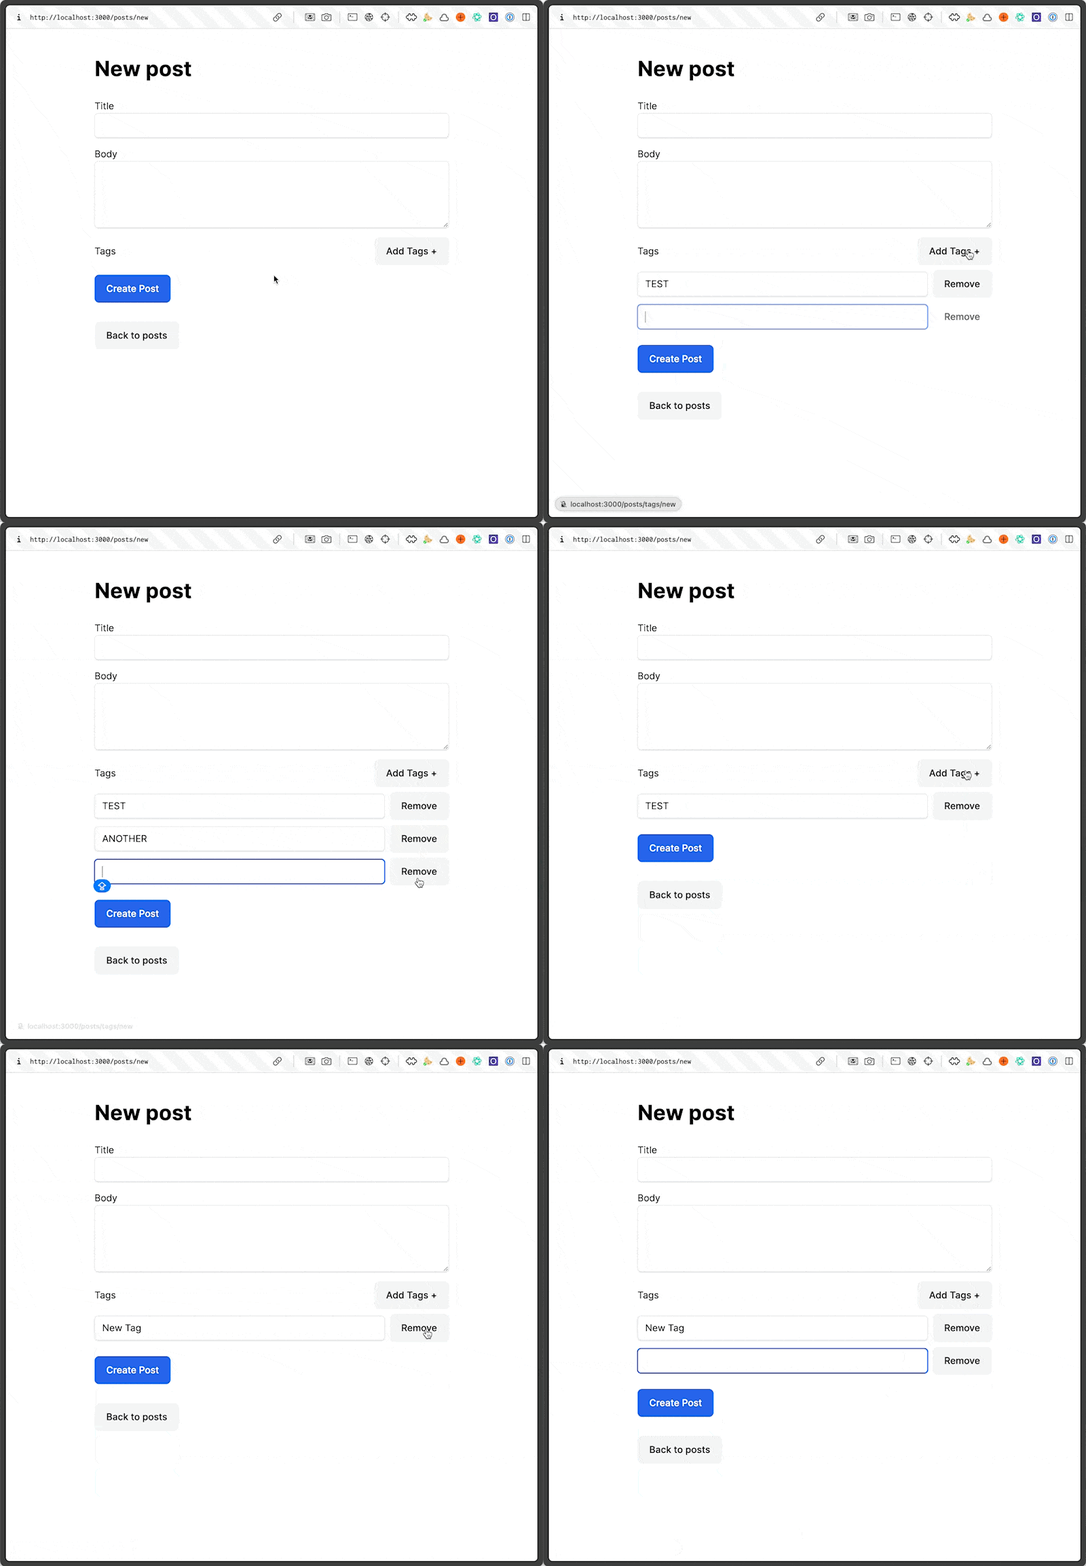
A common UX pattern is to have a form with the ability to add and remove nested records. For example, a form for a blog post might have a section for adding tags. The user can add as many tags as they want, and remove tags they no longer want.
For such a common pattern, I always scratch my head a little when I have to implement it. Generally, I end up doing it entirely in JS and make use of some sort of <template> tag. There's even a great Stimulus Component for Nested Forms that works exactly this way.
For whatever reason, I decided to implement the pattern using as little JS as possible, no templates, and rely on Turbo Streams to handle the DOM manipulation. I'm not sure if this is a good idea or not, but it was a fun experiment. Here's how it works.
You can browse the code for the demo app here.
Add Tags
The first step is to wire up the "Add Tag" button. When the user clicks the button, we want to add a new tag to the form. We'll do this by rendering a new tag partial and appending it to the DOM using Turbo Stream.
Step 1: Wire Turbo Stream Request
The Add Tag button needs to make a request for a turbo stream. To do that, we set the data-turbo-stream attribute to true (or anything) on the button.
app/views/posts/_form.html.erb
<%= link_to "Add Tags +", posts_tags_path, class: "btn", data: {turbo_stream: true} %>
That will trigger the GET request to fire with the text/vnd.turbo-stream.html format triggering the correct MIME type response.
Step 2: Append the Tag Field
We need to send back the turbo stream response by creating app/views/posts/tags/new.turbo_stream.erb which will render in response to the get request (because GET /posts/tags/new routes to posts/tags#new wired up to render this template).
app/views/posts/tags/new.turbo_stream.erb
<%= turbo_stream.append "tags" do %>
  <li data-controller="remove" data-remove-target="element">
    <%= text_field_tag "post[tags][]", "", id: "", data: {controller: "focus", focus_focus_value: "now"} %>
    <button data-action="remove#remove">Remove</button>
  </li>
<% end %>
Don't worry about the stimulus parts yet. For now we're just adding an li to the tags list. That should get it to appear when we click on the Add Tags button.
text_field_tag "post[tags][]" is a Rails helper that will generate a text field with the name post[tags][] which will be an array of tags. We'll use this later to create the tags in the controller.
Step 3: Focus the Tag Field
When the person clicks on Add Tag, it would be nice if the field that just came on the page was in focus so they can just start typing. I built a little stimulus controller called focus for this.
app/javascript/controllers/focus_controller.js
import { Controller } from "@hotwired/stimulus";

export default class extends Controller {
  static values = { focus: String };

  connect() {
    if (this.focusValue == "now") {
      this.element.focus();
    }
  }
}
Because our text field had data: {controller: "focus", focus_focus_value: "now"}, the focus controller will connect to that element supplying the stimulus value for focus as now. When the controller connects, if that value is now, it will focus the element that just came into view.
Step 4: Remove the Tag Field
We also want to be able to remove tags. To do that, we have a Remove button <button data-action="remove#remove">Remove</button>. When that is clicked, the remove action in the stimulus controller will fire. The entire li is bound to the remove controller additionally supplying it with a stimulus target of element, basically saying, "I am the element to be removed." <li data-controller="remove" data-remove-target="element">
app/javascript/controllers/remove_controller.js
import { Controller } from "@hotwired/stimulus";

export default class extends Controller {
  static targets = ["element"];

  connect() {}

  remove(e) {
    e.preventDefault();
    this.elementTarget.classList.add("animate-fade-out");
    setTimeout(() => this.elementTarget.remove(), 200);
  }
}
Conclusion
This feels easier to me than the straight JS approach. I also think following this pattern for editing tags on a post will be easier than using a JS approach. I'll do that next.

