Generating Audio Waveform Images in Ruby
I'm an engineer, educator, and entrepreneur that has been building digital products for over 20 years with experience in startups, education, technical training, and developer ecosystems.
I founded Flatiron School in NYC where I taught thousands of people how to code. Previously, I was the founder of Designer Pages. Currently I'm the Chief Product Officer at Revature.
Audio waveforms allow us to visualize the waveform of an audio file - displaying the amplitude of the audio signal over time. They are often used in audio editors and music players to show a visual representation of the audio.
In this post we'll walk through some Ruby code that generates a waveform image from an audio file.
The Code
Here is the Ruby code we'll be explaining:
def generate_json
    filename = "#{@set_filepath}.json"
    return filename if File.exist?(filename)

    generate_json_command = <<-SH
      audiowaveform -i "#{@set_filepath}" \
        -o "#{filename}" \
        -z 1024 --amplitude-scale 3.5
    SH

    `#{generate_json_command}`

    filename
end

def generate_image(width, height)
    image = ChunkyPNG::Image.new(width, height, ChunkyPNG::Color::TRANSPARENT)

    json["data"].each_with_index do |point, index|
      x = (index * width / json["length"]).to_i
      y1 = ((1 - point.to_f / 32768) * height / 2).to_i
      y2 = ((1 + point.to_f / 32768) * height / 2).to_i
      image.line(x, y1, x, y2, ChunkyPNG::Color::BLACK)
    end

    filename = "#{@set_filepath}.#{width}.#{height}.waveform.png"
    image.save("#{@set_filepath}.#{width}.#{height}.waveform.png")

    filename
end
It has two main steps:
Generate the waveform data as JSON
Generate an image from the JSON data
Generating the JSON Waveform
The generate_json method uses the audiowaveform command line tool by the BBC to analyze an audio file and generate a JSON file containing the waveform data.
It runs a command like:
audiowaveform -i "input.mp3" -o "output.json"
This analyzes input.mp3 and writes the waveform data to output.json.
Key parameters:
-i- The input audio file-o- The output JSON file-z- Sample rate--amplitude-scale- Scales the waveform amplitude
Playing with these settings and the other options will generate slightly different waveforms, I just landed on the ones I liked.
Generating the Waveform Image
Finally, generate_image takes the JSON waveform data and draws it as an image.
It creates a new transparent image of the specified width and height using ChunkyPNG.
Then it loops through each waveform point:
Calculates x position based on index
Calculates y position based on amplitude
Draws a vertical line from y1 to y2
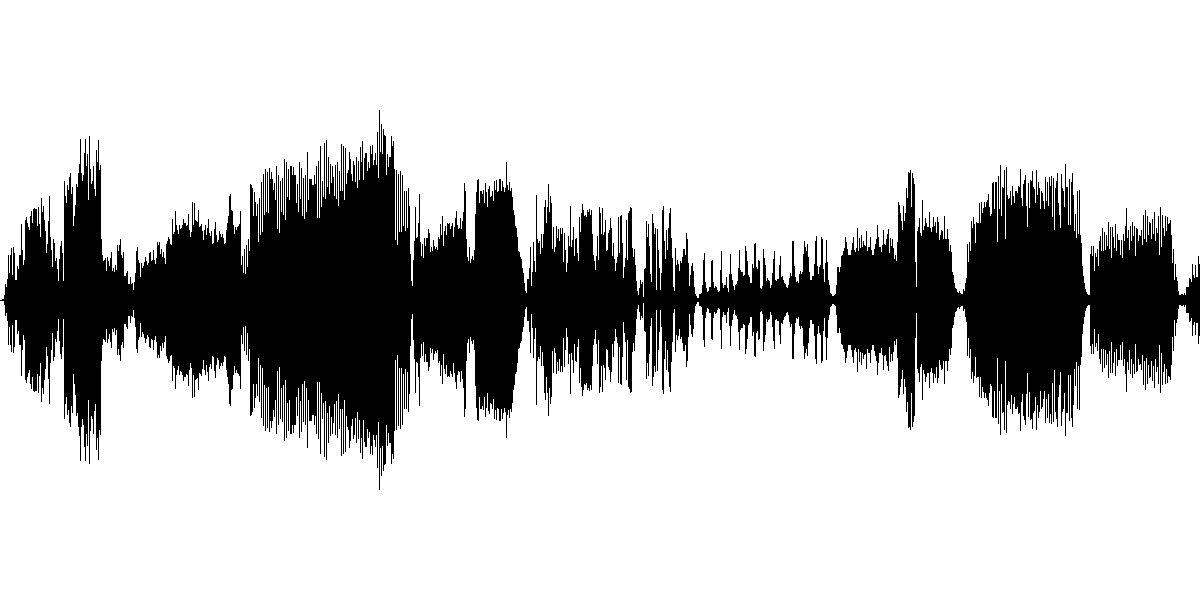
This plots the waveform amplitude over time as vertical lines in the image.
The result is a PNG image visualizing the waveform!
Division by 32768?
You might have noticed in the code above that the points are being seemingly arbitrarily divided by 32768. Think about why and then at the end of the post I'll explain.
Conclusion
By breaking the process into distinct steps - generate JSON, parse JSON, draw image - we can create audio waveform images in Ruby.
The key is using existing command line tools and libraries to handle the audio analysis and image generation parts. Our code just ties everything together into an end-to-end waveform generation pipeline.
The final code ended up as:
class Setlist::WaveformGenerator
  def initialize(setlist)
    @setlist = setlist
    @set_filepath = File.join(Rails.root, "tmp/sets/#{@setlist.id}/#{@setlist.filename}")
  end

  def generate
    generate_json
    generate_images
    generate_audioforms
  end

  def generate_audioform(zoom, scale, width, height)
    generate_bar_command = <<-SH
        audiowaveform -i "#{@set_filepath}" \
          -o "#{@set_filepath}.#{zoom}.#{scale}.bars.#{width}.#{height}.png" \
          -z #{zoom} --amplitude-scale #{scale} -w #{width} -h #{height} --no-axis-labels --background-color FFFFFF00 \
          --waveform-color 000000FF --waveform-style bars --bar-width 8 --bar-gap 2
    SH
    generate_wave_command = <<-SH
         audiowaveform -i "#{@set_filepath}" \
          -o "#{@set_filepath}.#{zoom}.#{scale}.waves.#{width}.#{height}.png" \
          -z #{zoom} --amplitude-scale #{scale} -w #{width} -h #{height}  \
          --no-axis-labels --background-color FFFFFF00 --waveform-color 000000FF
    SH
    `#{generate_bar_command}`
    `#{generate_wave_command}`

    ["#{@set_filepath}.#{zoom}.#{scale}.bars.#{width}.#{height}.png",
      "#{@set_filepath}.#{zoom}.#{scale}.waves.#{width}.#{height}.png"]
  end

  def generate_json
    filename = "#{@set_filepath}.json"
    return filename if File.exist?(filename)

    generate_json_command = <<-SH
      audiowaveform -i "#{@set_filepath}" \
        -o "#{filename}" \
        -z 1024 --amplitude-scale 3.5
    SH

    `#{generate_json_command}`

    filename
  end

  def json
    return @json if @json

    generate_json
    @json = JSON.parse(File.read("#{@set_filepath}.json"))
  end

  def generate_image(width = 1000, height = 200)
    image = ChunkyPNG::Image.new(width, height, ChunkyPNG::Color::TRANSPARENT)

    json["data"].each_with_index do |point, index|
      x = (index * width / json["length"]).to_i
      y1 = ((1 - point.to_f / 32768) * height / 2).to_i
      y2 = ((1 + point.to_f / 32768) * height / 2).to_i
      image.line(x, y1, x, y2, ChunkyPNG::Color::BLACK)
    end

    filename = "#{@set_filepath}.#{width}.#{height}.waveform.png"
    image.save("#{@set_filepath}.#{width}.#{height}.waveform.png")

    filename
  end
end
As you can see, as long as I'm generating, I'm taking the time to generate a few variations. Let me know if any part of the explanation needs more detail!
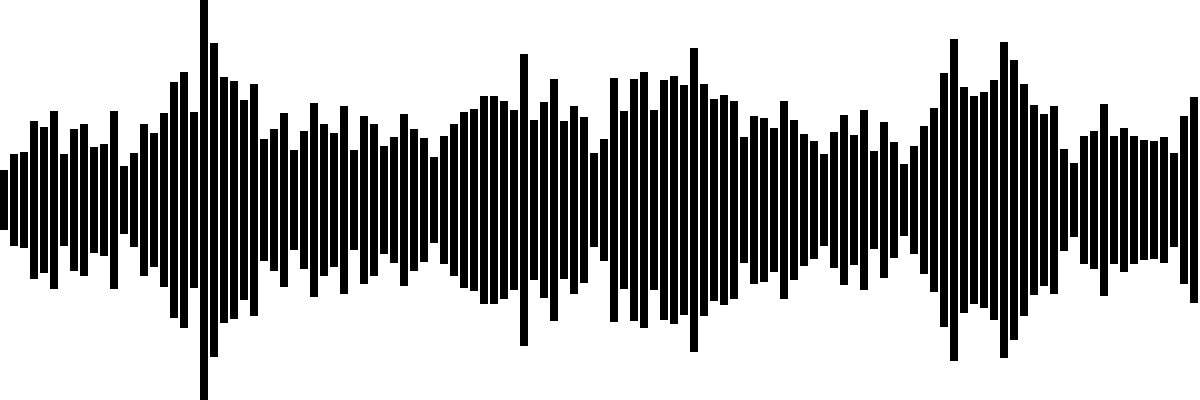
Bonus
audiowaveform also can generate directly from file to waveform and also pretty cool, soundbars:
Dividing by 32768
The division by 32768 is to normalize the waveform amplitude value to a -1 to 1 range.
The raw waveform data point values can range from -32768 to 32767, which represents the full 16-bit integer range.
Dividing by 32768 converts this to a float between -1 and 1, which makes it easier to scale and render on the image.
For example:
A point value of 0 would become 0 / 32768 = 0
A point value of 16384 would become 16384 / 32768 = 0.5
A point value of -16384 would become -16384 / 32768 = -0.5
This normalized value between -1 and 1 is then used to calculate the y position by multiplying by the image height:
y1 = ((1 - point / 32768) * height / 2)
So a normalized value of 0 will be at the center, while -1 is at the top and 1 is at the bottom when rendering.